
Amazon is one of many providers for hosting a WordPress website. You can host a website for as little as $3.50 USD/mn (plus the yearly cost of your domain).
I like Amazon because you have the backing of AWS which means very low downtime. Behind the scenes Lightsail instances are EC2 instances from the t2 class of burstable instances. The main point of LightSail is simplicity (compared to how overwhelming the AWS set up can be).
For the record, I have no self-interest in having anyone else also set up a Amazon AWS account, I have no referral code. I just like AWS (mostly cause I use it at work and I’m familiar with it).
Onto the step-by-step tutorial!
(Note, I created a new instance for this, hence why there’s some passwords hanging out in the open. It’s since been deleted 🙂 )
Creating the instance
- Create an account with Amazon AWS. Click on the Orange “Create an AWS account” button
- Type lightsail into the top search field and hit enter

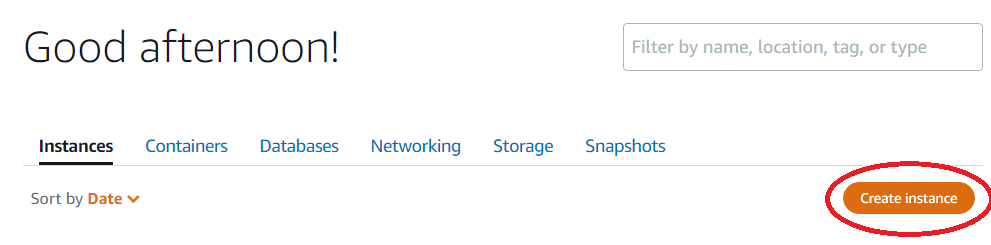
- Click on “Create Instance”
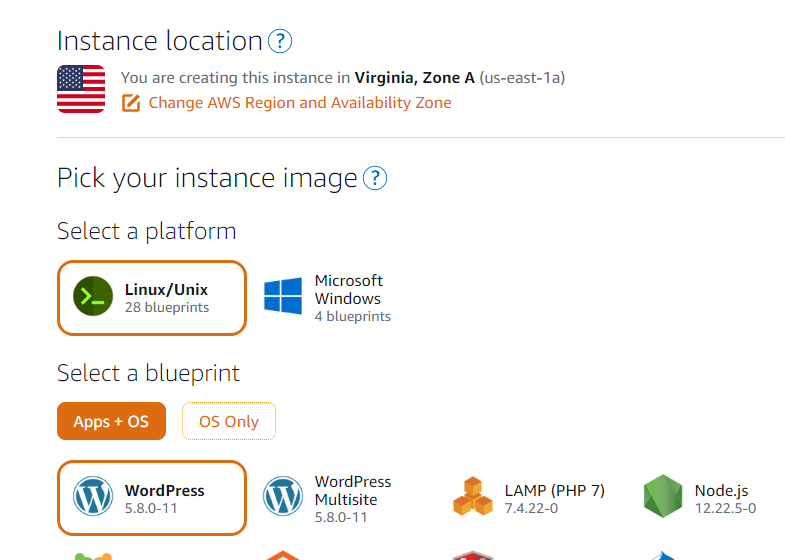
- Stick with the default options for your instance location, platform, and blueprint
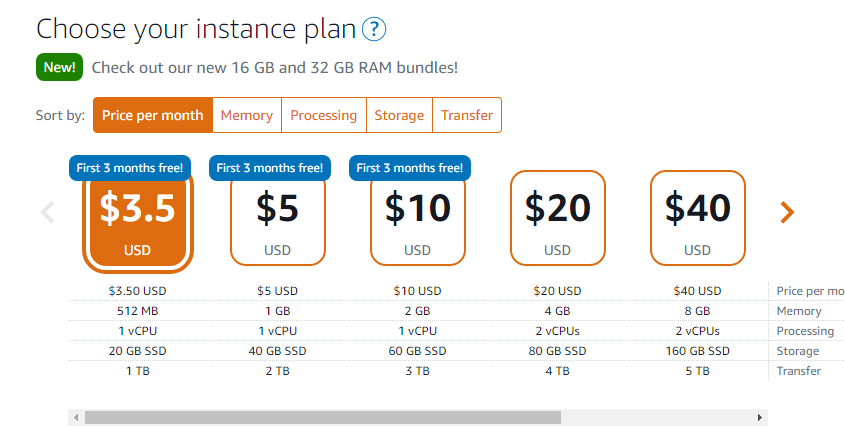
- Pick the pricing model (the $3.50 should be more than enough for a small website, but if you find it’s not enough you can always move it up/down the instance spectrum later)
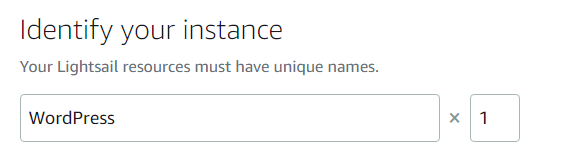
- Name your instance. Please note, you cannot easily change this later. This is only for you and not public facing.
- You don’t need to worry about key-only or key-value tags. Go ahead and click “Create Instance”

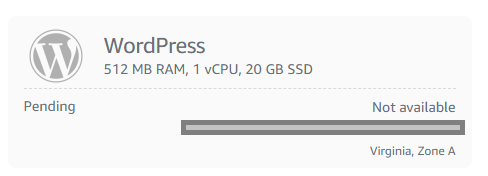
- Wait about 2 minutes for the website instance to set up. It’ll go from “Pending” and greyed out to “Running” full color
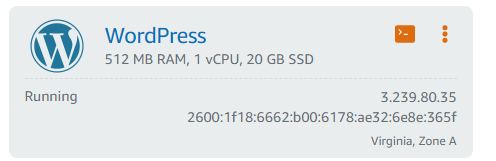
- Click on the title of the instance
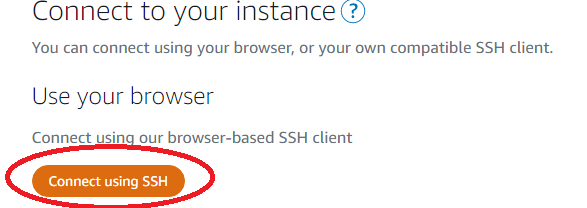
- Click on the “Connect Using SSH” button
- You should get a pop-up that looks like this. If it says “please wait a few min” it means the instance is “still cooking” a bit, and give it a few min and then try again
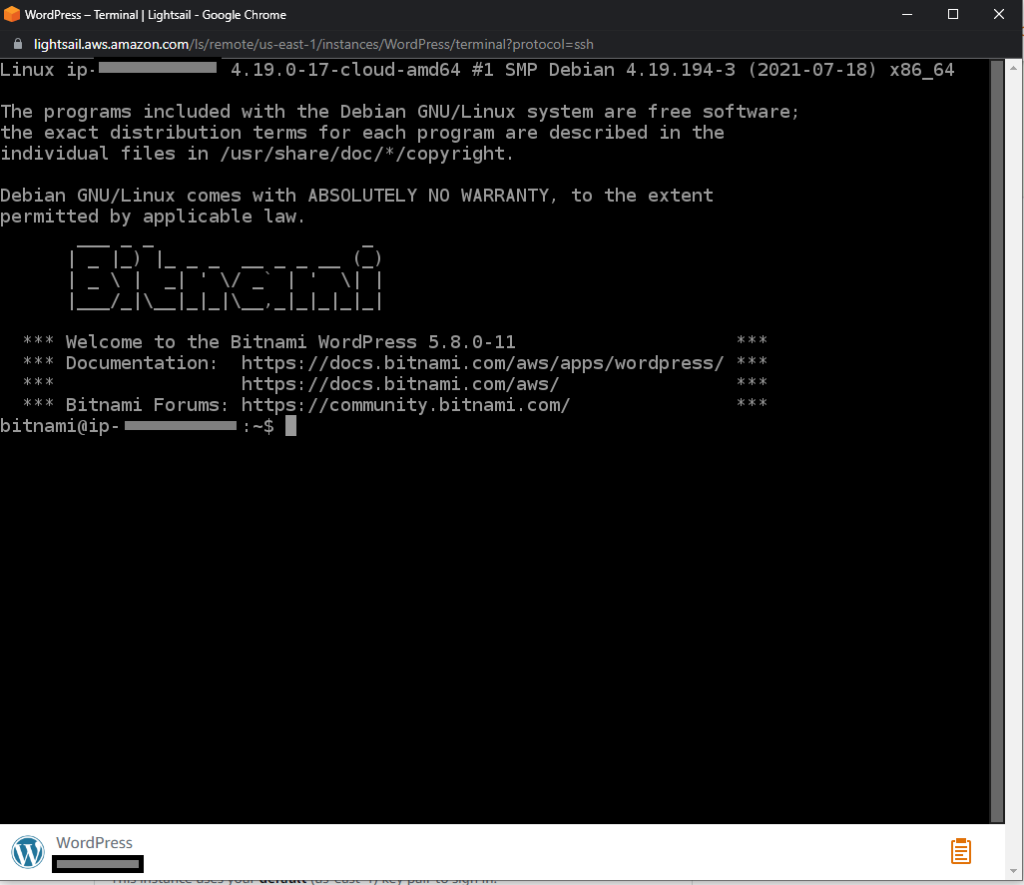
- Type “cat bitnami_credentials” this will tell you your WordPress default username and password.
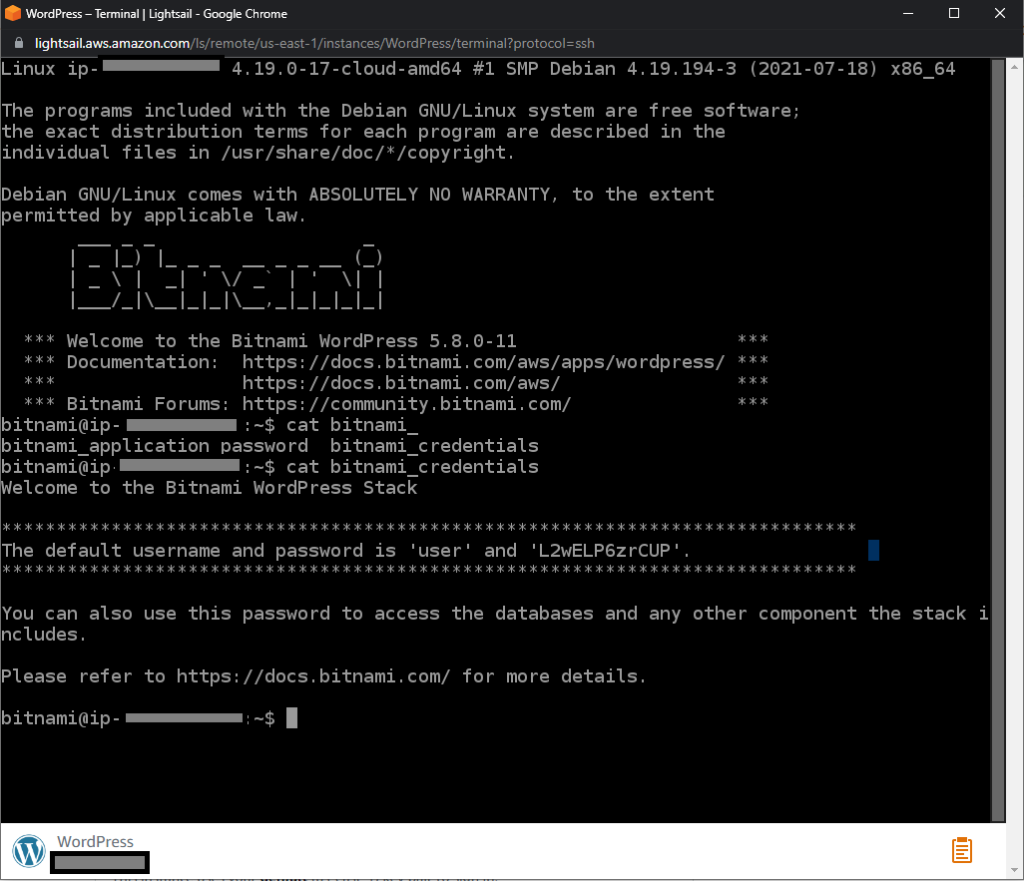
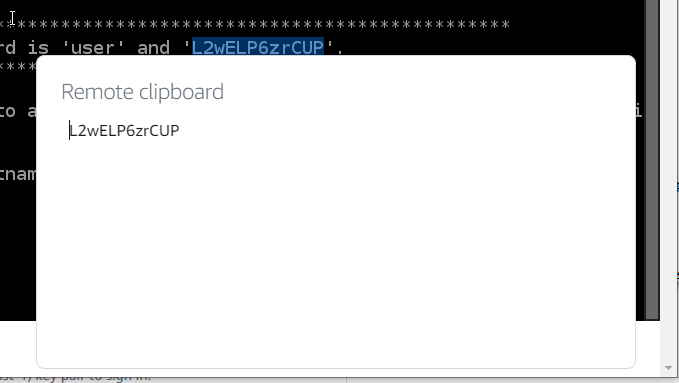
- Copy down the password, if you highlight the password then click the lower right clipboard icon, you can easily copy it down.
- Close the window, you won’t need it for a while
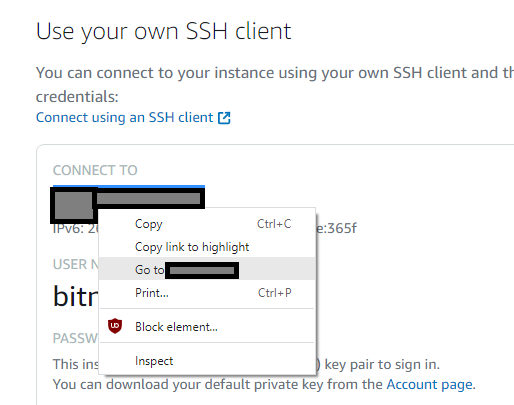
- Back on the lightsail webpage, highlight the IP address, and right click it, and select “go to *IP ADDRESS*”
- This should open a new tab in your browser and take you to your new WordPress page. Go to the address and add /wp-admin to it and press enter
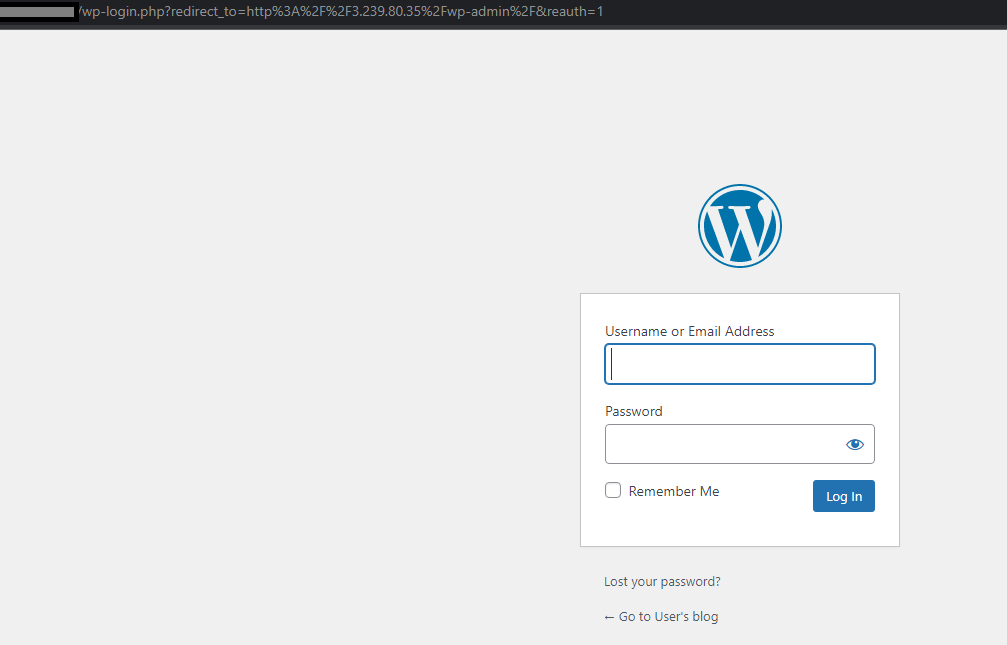
- Type in “User” for the username and the password from the above step and click “Log In”
- Feel free to now set your website up as you wish. See the “Appearance” tab for themes. Please be aware there are a lot of “Junk” themes out there. Personally I use the theme “Twenty Seventeen” and it’s a wordpress default theme.
Secure your user (optional, but recommended)
- NOTE: THIS SECTION IS OPTIONAL, BUT HIGHLY RECOMMENDED. YOU DO NOT NEED TO DO IT.
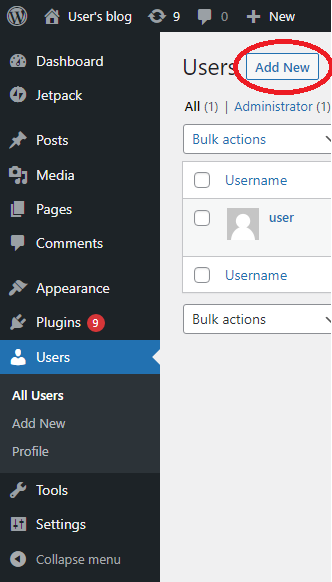
- Go to Users and click “Add New”
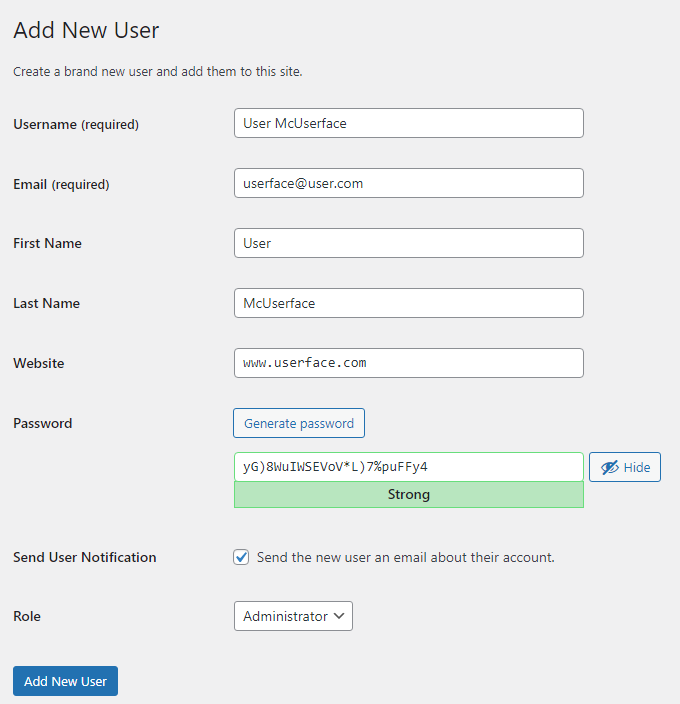
- Create a new User for yourself, change the role to “Administrator”. Make sure the email is valid.
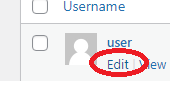
- Log out as User, and log back in with the new User. Go back to the console, and change edit User to be a subscriber. Do not lose your password! (Or change it to be a password you’ll remember).

- This is mostly done for security reasons and is optional.
Assigning your custom domain to your instance
- This assumes you have a custom domain already registered. I personally use google domains, but you can use whatever you want (this tutorial will be specific to google domains, it will be slightly easier if you use amazon as your domain registrar).
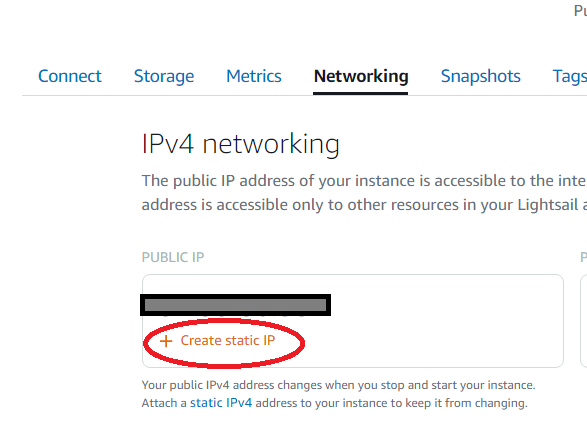
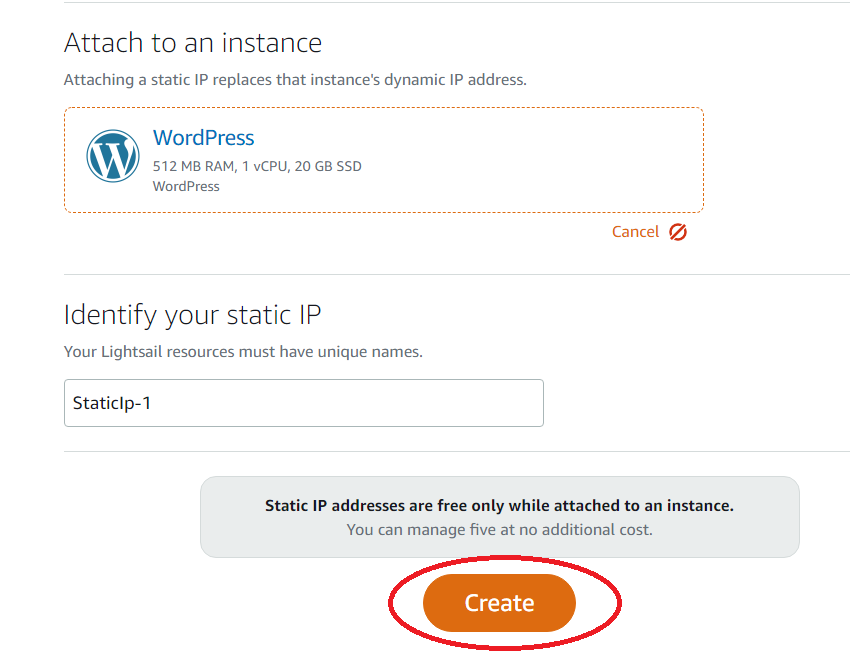
- In your lightsail console, click on your instance and click on the “Networking” tab. Click on the “Create static IP” button
- On the next page, go with the default selections, you can name your IP address as well (useful if you will have multiple sites set up). Click on the Create Button.
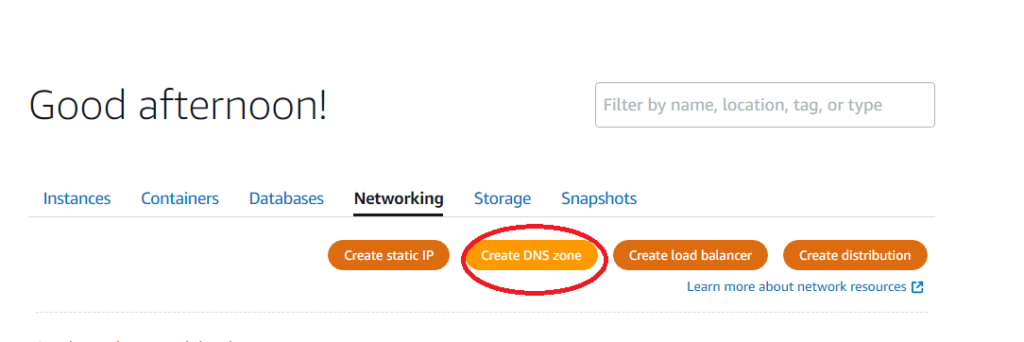
- Click on the “Home button” then go the “Networking” tab. You will now want to create a DNA zone. Click on “Create DNS zone”
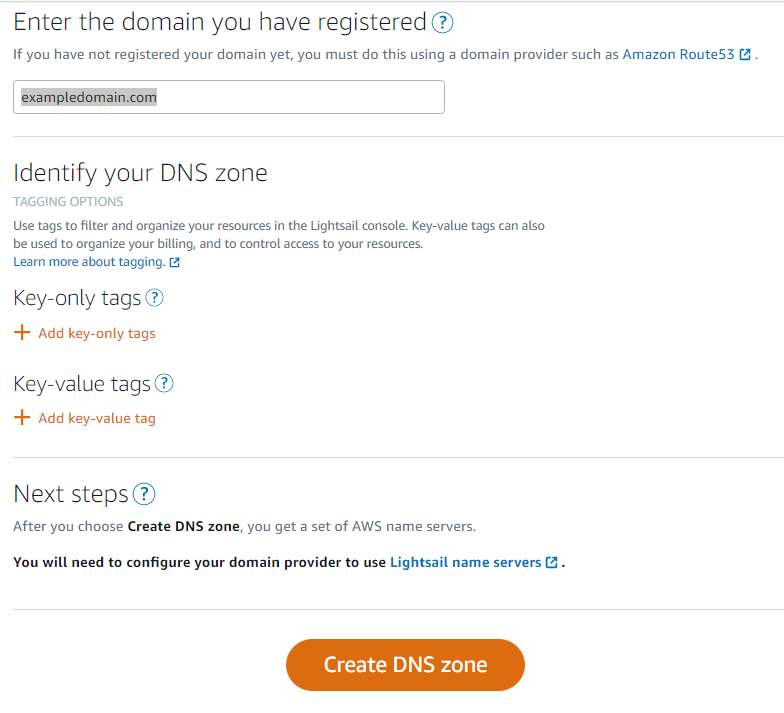
- Fill out the form, do not include www in the domain. Click the orange “Create DNS zone” button
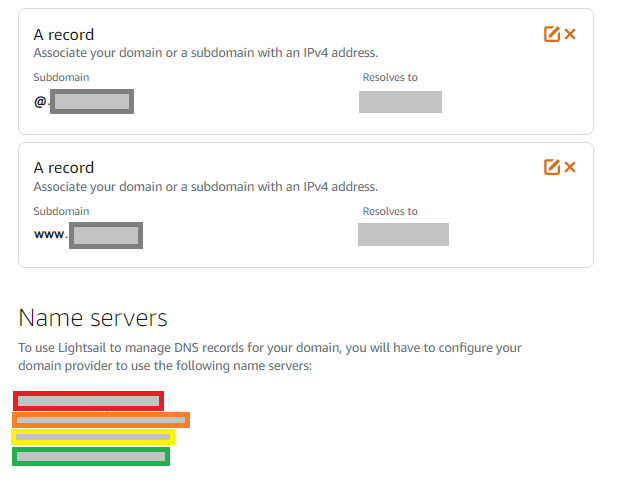
- In your DNS zone, you will need to create two DNS records. Create two A records, one with www. and one with @ (click on the + Add Record), if the IP address doesn’t give you an option, paste in the static IP address from the previous steps
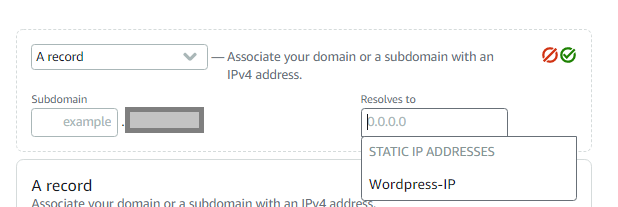
- It should look like this. Take note of the 4 name servers at the bottom of the screen.
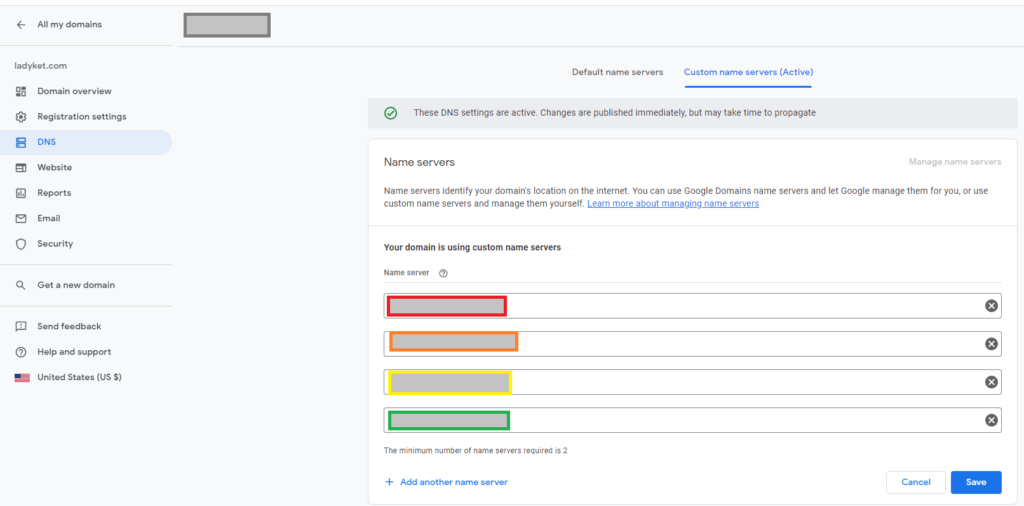
- Go to your domain registrar, and click on DNS for the domain you want to associate with this DNS zone. In google you will also need to go to “Custom Name Servers” and “Manage Name Servers”, add the name servers accordingly and click “Save”
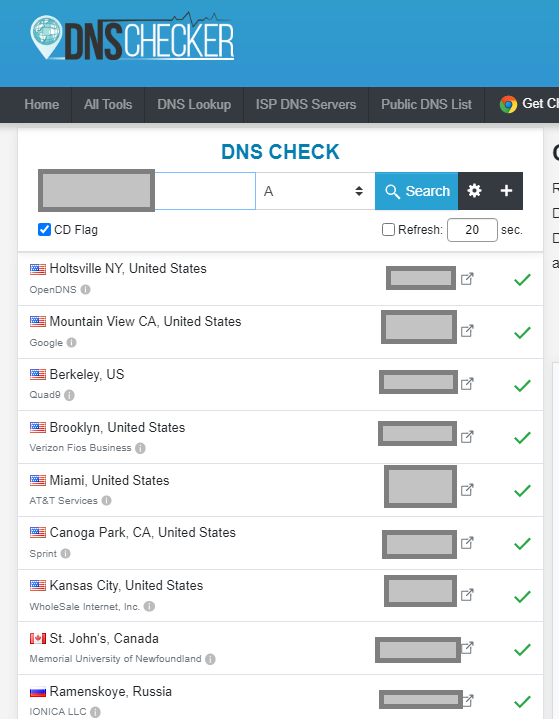
- This is the step you will need some patience. You will need to allow time for all the name servers to propagate the changes out. This can take up to 24 hours. You can check the status of the propagation at DNSChecker.
Securing the website! (Aka https)
- IMPORTANT: This step can only be done once you complete the propagation step and the DNS is properly recognized as seen in DNSchecker.
- You should secure your website with a cert. Luckily Lightsail makes this super easy because of the Bitnami image it uses. Go back to your wordpress instance and click on “connect using SSH”, this time around you can take a small shortcut and just click on the orange square icon on your homepage of instances.

- You will want to type into the console
sudo /opt/bitnami/bncert-tool
This tool will then guide you through what you need to do
Domain list []: Enter your domain name here. e.g. www.yourwebsite.com
The tool will prompt you:
The following domains were not included: yourwebsite .com. Do you want to add them? [Y/N] enter Y.
Then, answer the rest of the questions appear on-screen as follows:
Q1. To enable HTTP to HTTPS redirection [Y/N]: Y
Q2. Enable non-www to www redirection [Y/N]: Y
Q3. Enable www to non-www redirection [Y/N]: N
You should also agree to the changes (Y). Enter your email address (a valid one) for the https certificate).
If all is successful, all you need to do is not go to https://www.yourwebsite.com and it will redirect to your wordpress AND be secure (the bncert-tool will also renew your certs every 80 days so you don’t need to do it yourself!).
Happy website making!